
A surprising proportion of clothing thrown away in Britain is discarded over a fault that would take ten minutes to fix. A missing button, a dropped hem, a small hole at the elbow.
None of these repairs requires a sewing machine, particular talent or more than a few pounds of equipment. They do require someone to have shown you how, which is increasingly rare now that needlework has largely disappeared from school timetables.
Here are the repairs worth learning and how to approach them.
Start with a basic kit.
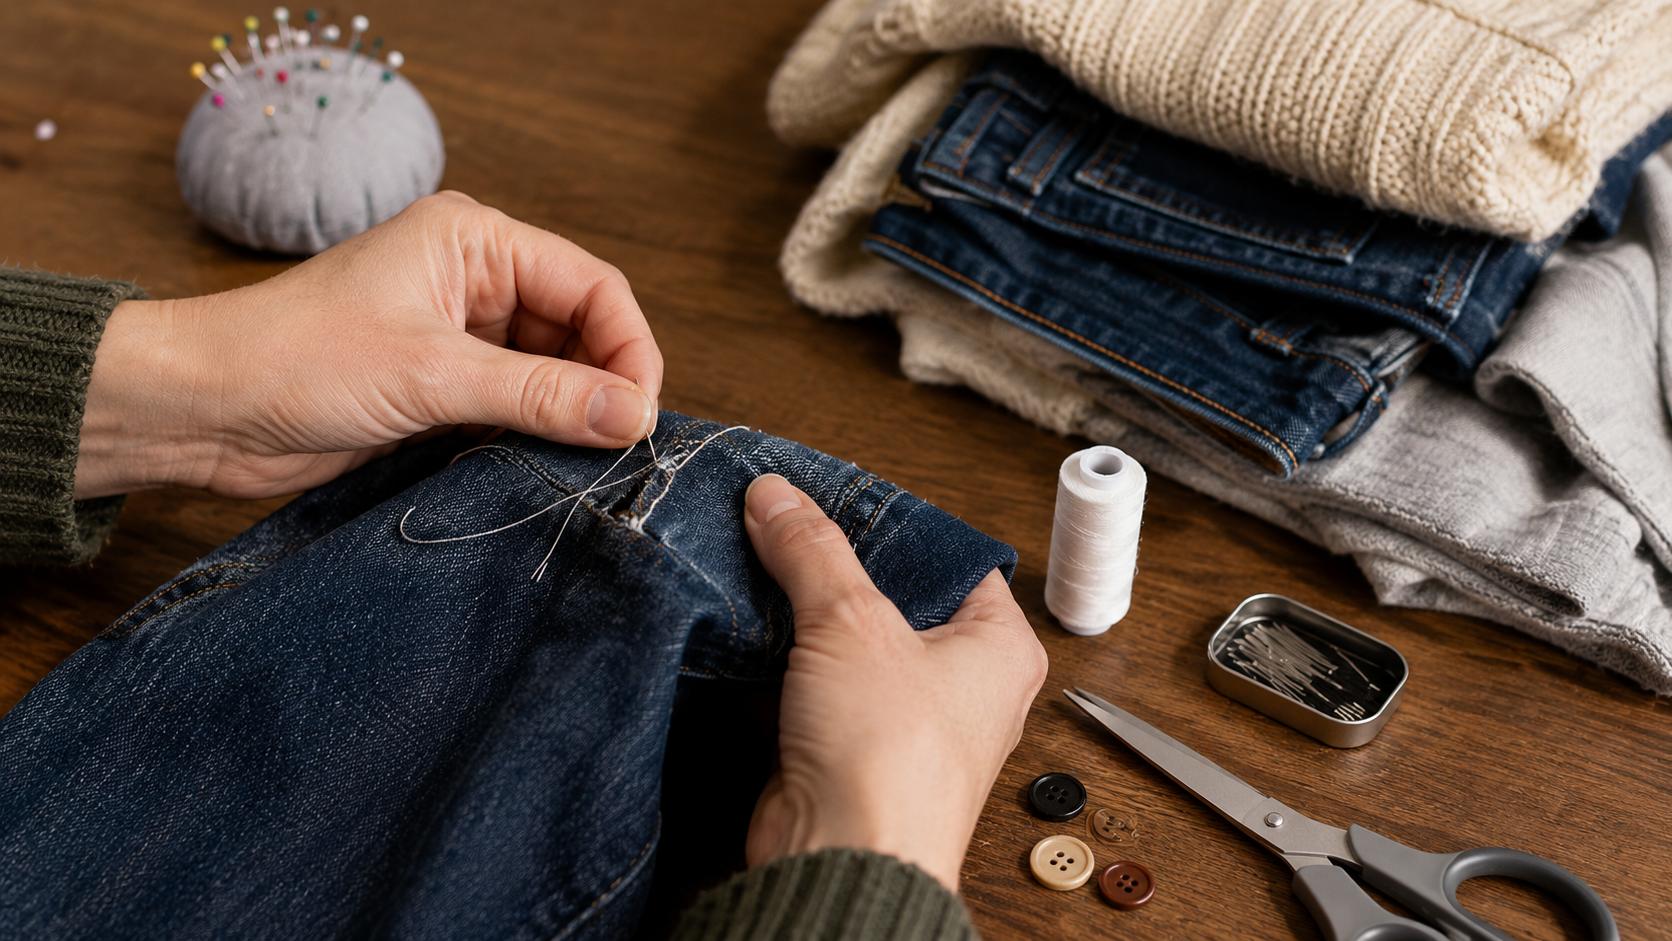
You need very little. A packet of assorted needles, a few reels of thread in black, white, navy and grey, a pair of small sharp scissors kept only for fabric, and a box of assorted buttons.
Add a thimble if you find pushing needles through thick fabric uncomfortable, some pins, and a seam ripper, which is a small hooked tool for cutting stitches without damaging cloth.
Most of this can be bought for a few pounds, and charity shops frequently have sewing boxes complete with decades of accumulated buttons and thread.
Sewing on a button is the essential skill.
Cut a length of thread roughly the distance from your fingertips to your elbow, thread the needle and knot both ends together so you are sewing double. Doubled thread is stronger and halves the number of passes needed.
Start from the underside of the fabric so the knot sits hidden, and bring the needle up through one hole. For a four-hole button, sew across in an X or in two parallel bars, whichever matches the other buttons on the garment.
The important trick most people miss is the shank. Place a matchstick or a spare needle across the top of the button while sewing, so the stitches are not pulled tight against the fabric. Remove it at the end, pull the button up, wind the thread several times around the threads beneath it, then pass the needle through to the back and finish off.
That wrapped shank gives the button room to sit over the buttonhole and stops it pulling loose again.
Hems are easier than they look.
A dropped hem, where the stitching has come away and the fabric hangs loose, is one of the most common faults and one of the simplest fixes.
Pin the hem back into its original fold, then use a slip stitch. Catch just one or two threads of the outer fabric with each stitch, so almost nothing shows on the right side, then pass the needle through the folded edge of the hem.
Work along in small stitches, keeping the tension loose enough that the fabric does not pucker. Iron-on hemming tape is an alternative for a quick fix, though it does not survive repeated washing as well as stitching.
Darning saves knitwear and socks.
Darning fills a hole by weaving new threads across it. It sounds fiddly and is genuinely satisfying once learned.
Stretch the fabric over something curved. A darning mushroom is the traditional tool, but a tennis ball, a jam jar or the base of a light bulb all work.
Stitch a series of parallel threads across the hole, anchored in the sound fabric a little way beyond the edge, then weave a second set at right angles, going over and under alternately. Work slightly beyond the hole in every direction, because the fabric around a hole is usually thin too.
Use matching yarn for an invisible repair, or a contrasting colour if you want the mend to show.
Patching handles bigger damage.
For a tear or a worn patch too large to darn, a patch is the answer. It can go on the outside or the inside depending on the effect you want.
Cut the patch larger than the damage, with a small margin all round. Fold the raw edges under and press them, then pin the patch in place and stitch around the edge.
Iron-on patches work well on sturdy fabrics such as denim and are widely available, though stitching around the edge afterwards makes them last far longer.
Elbows and knees, being the areas that wear first, are where patching pays off most.
Visible mending has become a style in itself.
Rather than hiding a repair, visible mending treats it as decoration. Contrasting thread, coloured patches and bold stitching are used deliberately.
Sashiko, a Japanese technique using simple running stitches in geometric patterns, has become widely popular for exactly this purpose and is well suited to denim.
The appeal is partly aesthetic and partly a rejection of disposable clothing. A visibly mended jacket says something a new one does not.
Know when a repair is beyond you.
Zips are the most common repair people struggle with, and replacing one properly usually means unpicking and resewing a seam. A local alteration service will do it cheaply and quickly.
Structured garments, tailored jackets and anything with a lining are also worth taking to someone experienced.
Most towns still have an alteration shop, dry cleaner or seamstress offering repairs, and the cost is almost always less than replacing the item.
Repair cafés will teach you.
Repair cafés have spread across the country, including a number in the North East, offering free help with mending clothes, electricals, bicycles and household items.
They are staffed by volunteers who generally prefer to show you how rather than simply do it for you, which is the point.
Local libraries, community centres and sewing groups also run sessions, and they tend to be sociable as well as useful.
Share your thoughts.
What is the oldest item of clothing you have kept going with repairs?
Lifestyle News
Basic Clothing Repairs Everyone Should Know
Four or five simple repairs will save most garments that would otherwise be thrown away, and none of them require a sewing machine.
Advertisement





Comments (0)
You must be logged in to post comments.
Don't have an account? Register here
No comments yet. Be the first to share your thoughts!